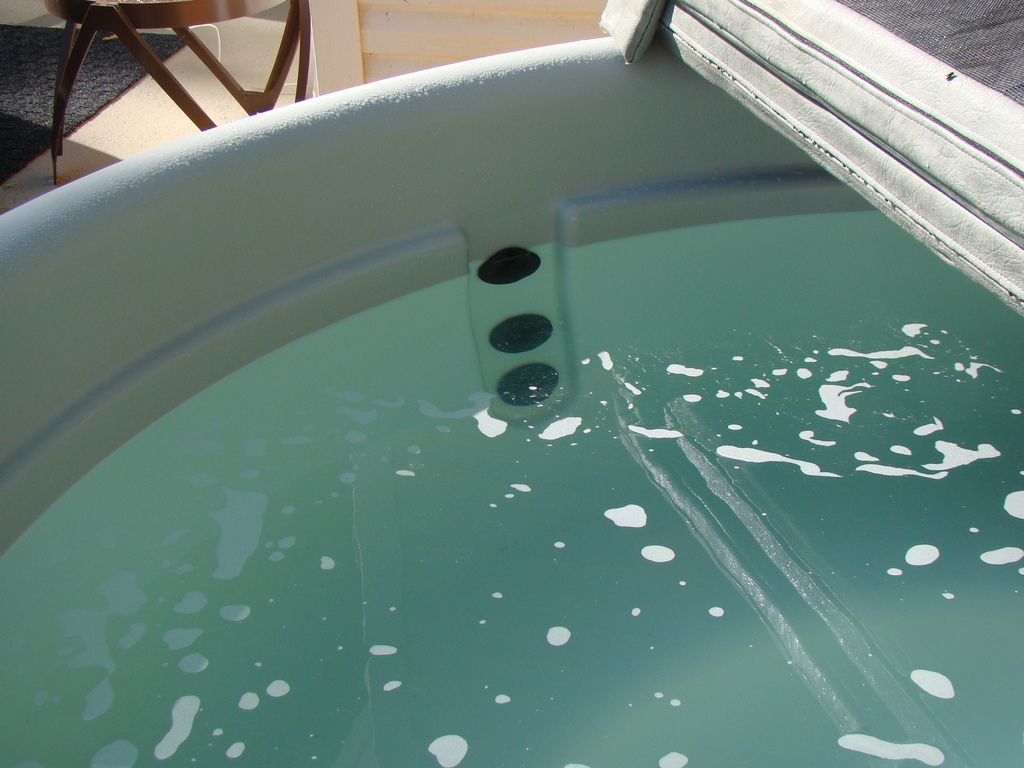
Been a while but that's what happens when you are piecing things together...lol. I started out by replacing all the larger jets in the tub, I say larger but they were only 2 inch mini's. I went with rotator jets and ended up buying 6 of them as I broke 1 of the smaller jets getting the large ones out. Due to the abs construction it was simpler to drill out a larger hole and fit.
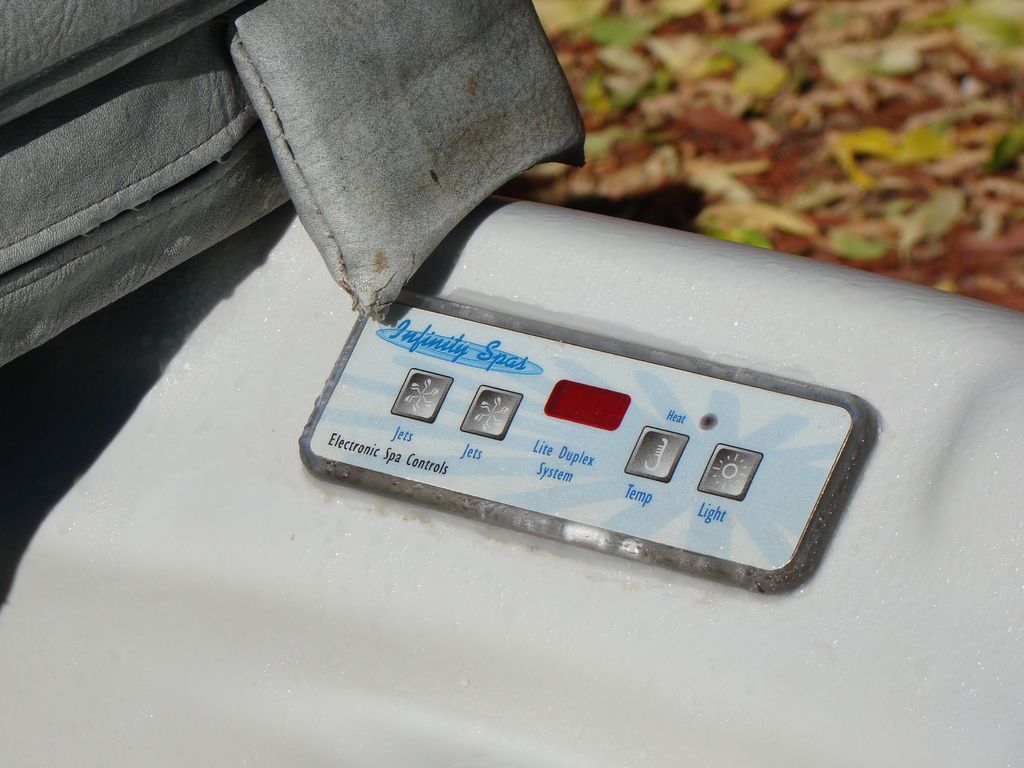
I started work on the electronic timer circuit but got a break by finding a complete Balboa INF10 spa pack including the panel for $100 Canadian on Kijiji. I had to enlarge the hole for the panel but again, no big deal
I had to buy the pump cords and light cord and housing but that didn't cost a great deal. I was going to use the circulation pump out of the inflatable but that failed. I had to hunt around but ended up getting an Iron Might from express hot tub parts for $260 Canadian, this was between $60 to $100 cheaper than the local stores, none of which had any 110 units in stock anyway.
I got slice valves and other connections from a local store and put together the twin pump setup in the plywood box I had built for the inflatable tub. There were two reasons for this, there wasn't enough space underneath the tub to fit everything and using a separate box allowed me lots of wiggle room.
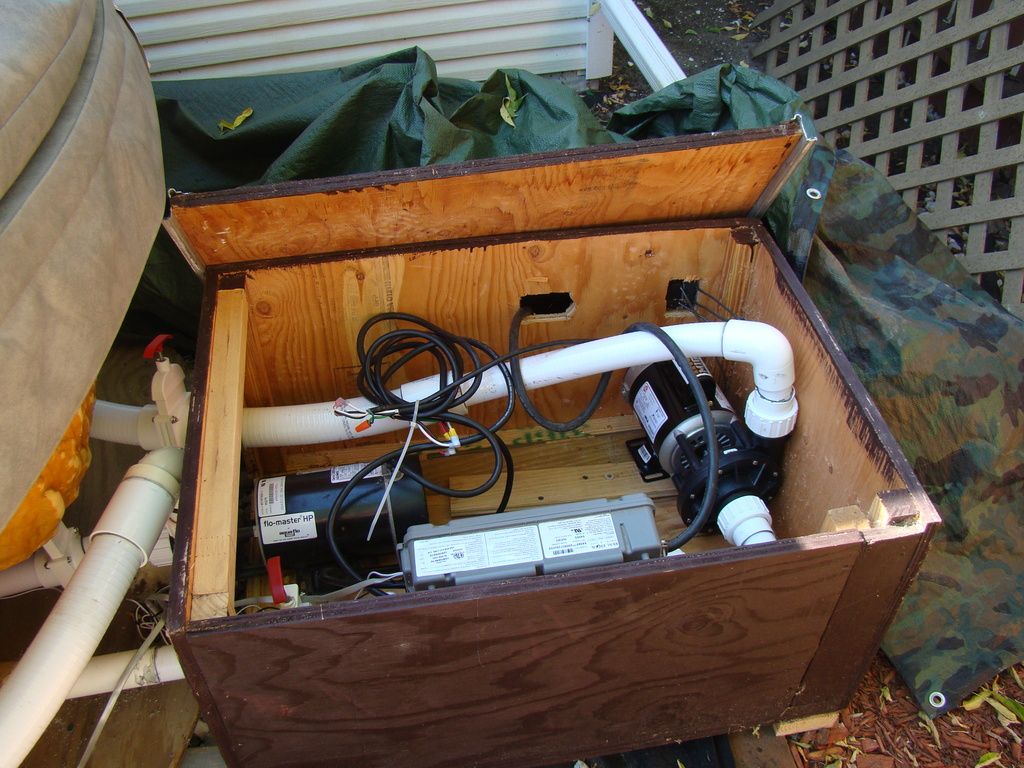
In order to run dual pumps, I decided to pull from the stock suction fitting for the jets and the filter stack for the circulation. I ended up buying another suction fitting and drilling and fitting it to the side of the step to act as the outlet for the circulation side. That meant the heated water enters lower than the filter weir, was pushed around the circular tub meaning a more even heat. Doing it this way also meant I could remove two 90 degree fittings from the jet side, increasing flow.
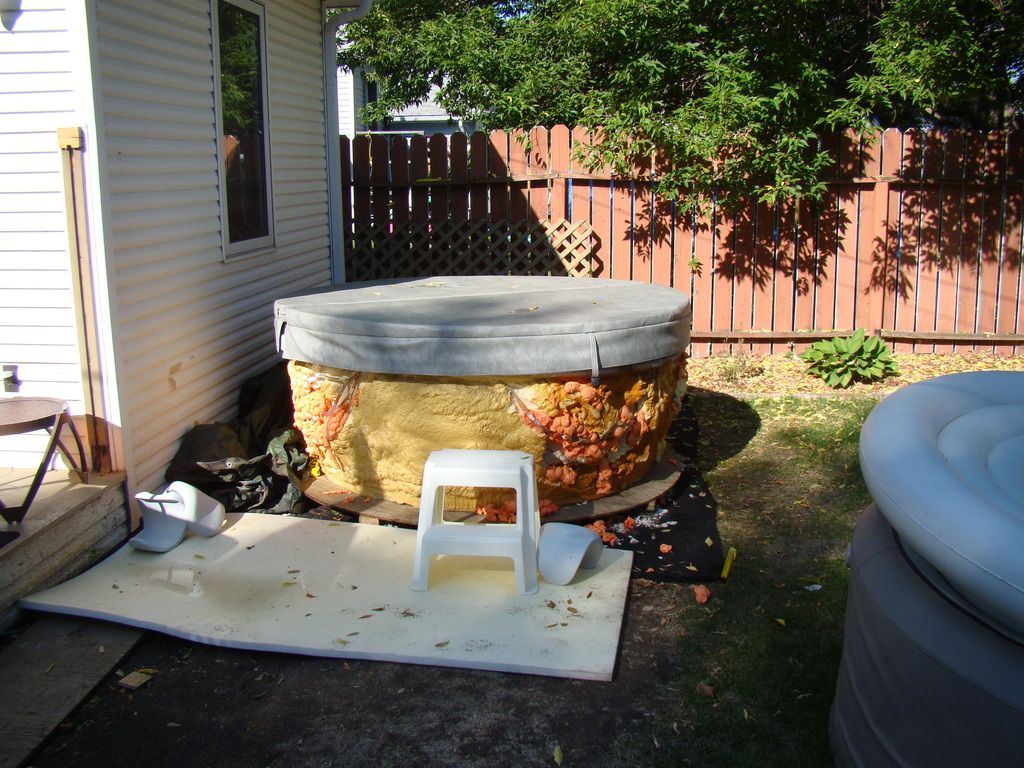
I prepared the ground for the tub at the back of the house. Where I placed it had been in grass for a large number of years so was very stable (we are also on a sand base here so there is minimal heave). I put down landscaping fabric and then a gravel layer to level off and placed the plywood base onto that. I am sure a lot of folks will now be shaking their heads at this but the tub itself is thick abs not acrylic so has a lot of stability and is pretty much self supporting (think roto tub type construction).
The first wet run wasn't a complete success, there was a leak where I had plugged the ozone fitting, some minor weeps on a couple of the jets and a leak on both the suction fitting and the filter stack. I transferred the water to the old inflatable and did some repairs. One of the biggies was on the stack, I had to cut back and then tried a correct spigot fitting, crap.. it was too small as the pvc 2 inch pipe had shrunk over time. In the end I had to heat some solid PVC water pipe I had on hand, spread it using a 2 inch hole saw blade I had, smooth down the rough edge and glue it in. Problem solved

The second wet run went great, only a leak from one of the air lines where I had put in spray foam. I dug the new foam out, replaced the joint and everything was water tight. I had to throttle back the circulation side using the slice valve. The new circulation pump would pull all the water from the stack, airlock then take time to start up again then do the same again. I lowered the slice valve until I got just enough flow.
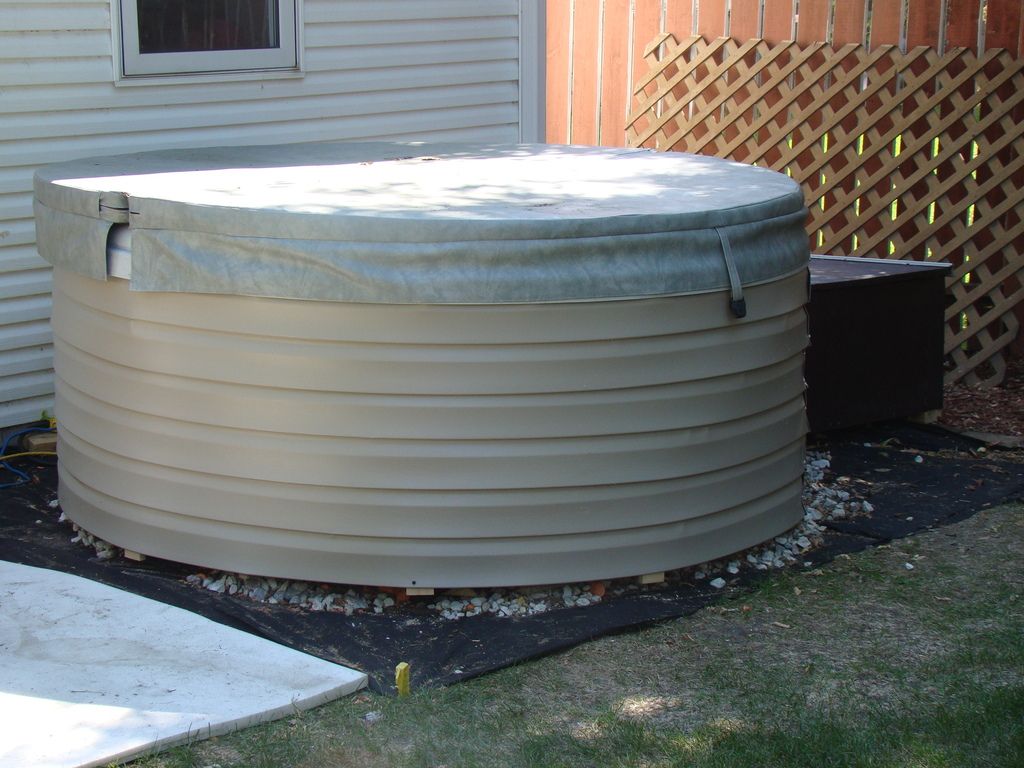
The last thing was the surround. I ended up buying 1 by 3 lumber, fixed blocks to the plywood base and put in multiple vertical straps. I then took vinyl siding and carefully worked it round the tub, attaching it to the vertical strapping. In all I used 5 and a quarter strips for about $60 bucks including the strapping. Some of the ends are a little 'bush' but they will be pretty much out of sight.
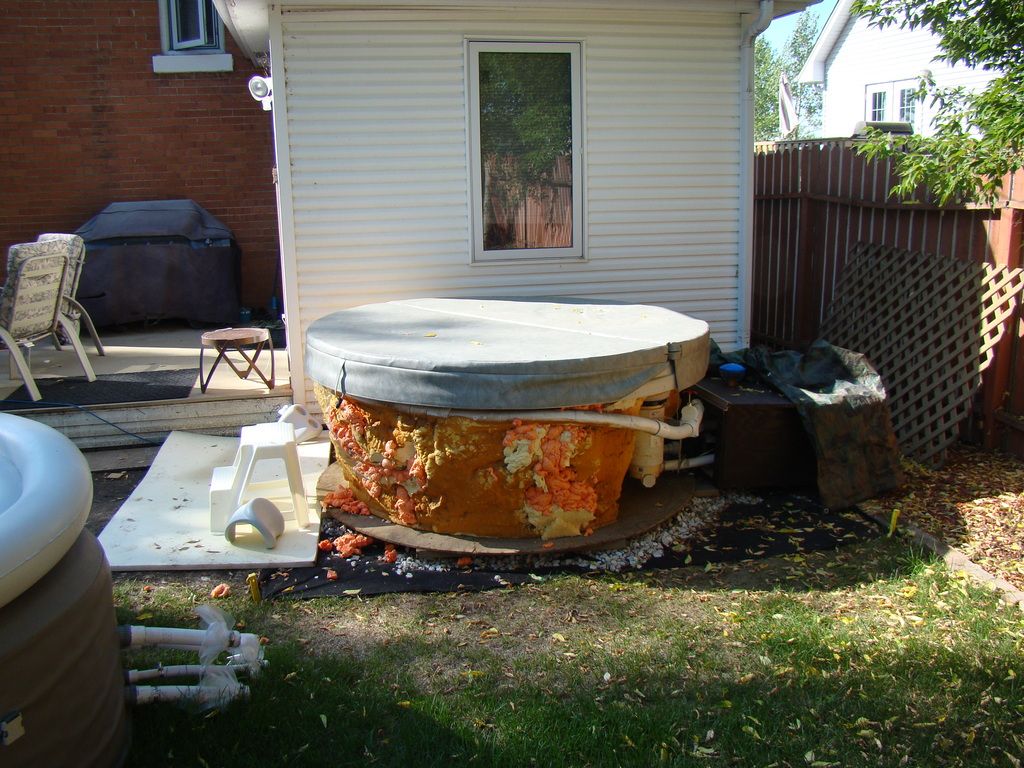
before:
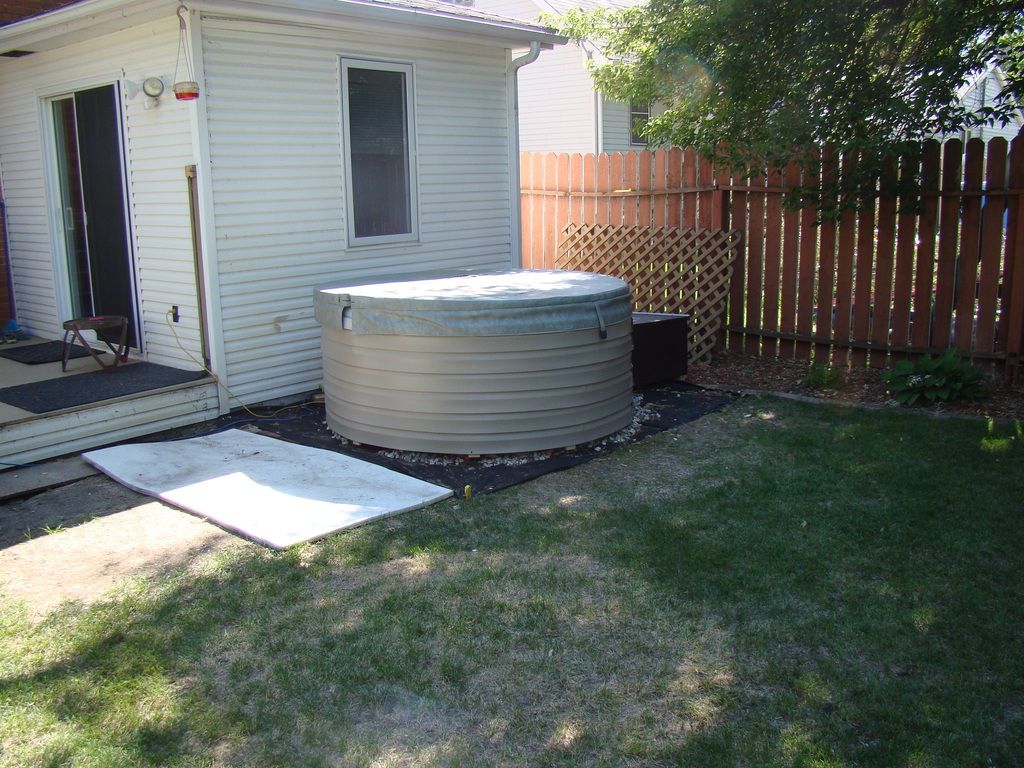
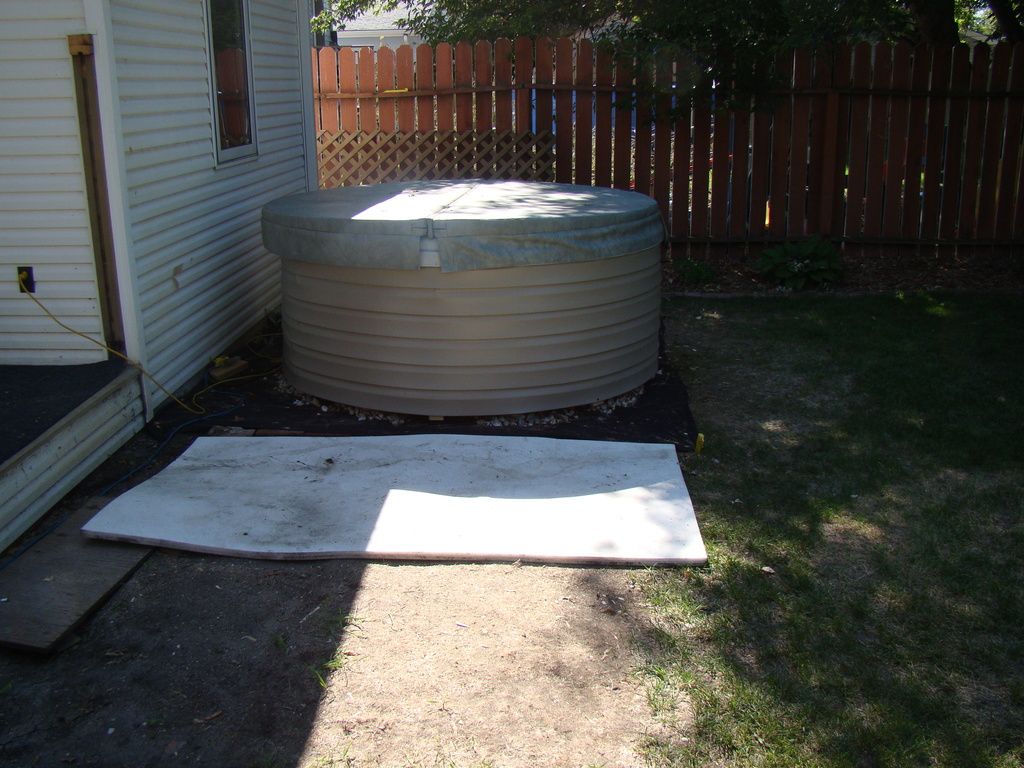
After:
Into the setup for roughly $1000 including all the new materials